13 Ways to Extend the Durability of Your Homemade Manicure
Content
If you do a manicure on your own and don't like it when chips appear the very next day, take care of the coating and nails properly so that they look neat for as long as possible.
Independent manicure at home is an activity for the patient. If you still dare to this beauty procedure, then take note of a few tips on how to extend the durability of the coating.
1 Don't Grow Length
Long nails, of course, look more spectacular, but the varnish on them is worse. Plus, they break faster.
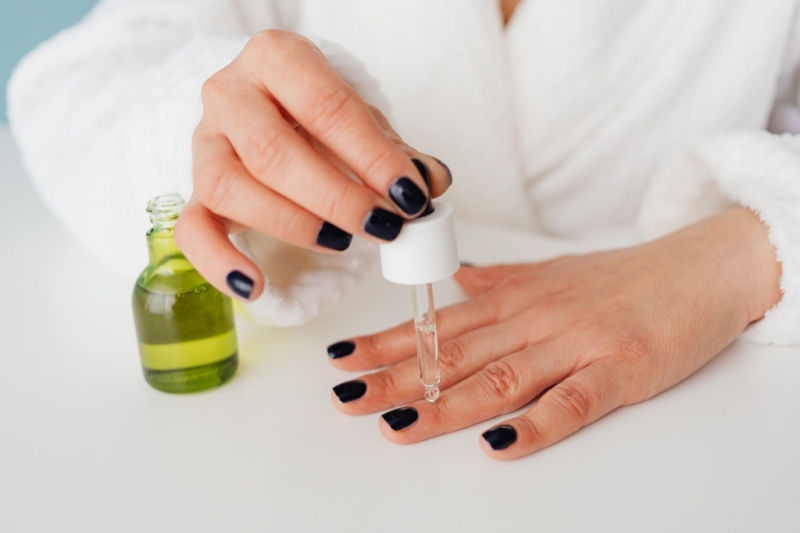
2 Take care of your cuticles
If the cuticle is dry and bulging, then the varnish will begin to peel off faster. Use oils, moisturizers, special pencils. Push back cuticles with an orange stick before applying polish.
3 Degrease nails before applying the coating
Before applying varnish, the nail plate is degreased with a special alcohol-containing agent. Also, do not apply varnish on wet nails – wait until they are dry. It is not enough to blot them with a towel after the bath, wait half an hour.

4 Polish your nails
Lacquer adheres better to a flat surface. But do not overdo it so as not to damage the plate. Use a soft file and be careful.
5 You need to paint your nails in a cool room
At low temperatures, the varnish is easier to apply and dries faster. Manicure products should also be stored in a cool room or on the balcony.
6 Apply base
It prolongs the "life" of the manicure. The base coat levels the surface of the nail plate, and this is especially important when it is damaged.
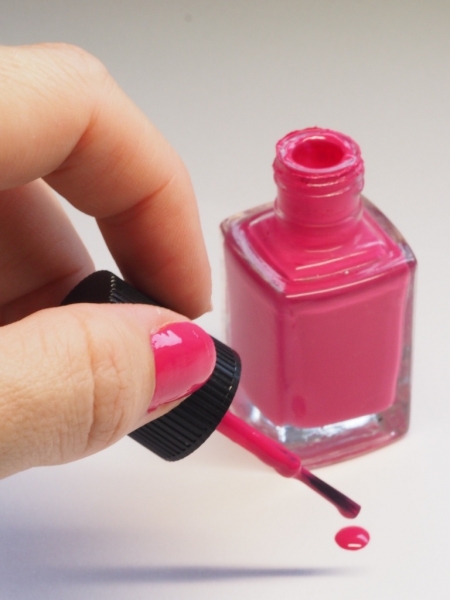
7 Use a quality varnish
Before buying, try to check the quality of the varnish. Notice how the drop is formed:
-
if it drains quickly, then the varnish is watery;
-
if in 3-4 seconds – you can take the varnish;
-
if more than 4 seconds – thickened varnish.
Do not dilute nail polish with remover. If that helps, it won't be for long.
8 Don't Apply Many Layers
For a permanent manicure, four layers are needed: base, two layers of varnish, finish. Do not try to apply three layers of varnish. So the manicure will dry for too long and most likely the coating will not dry completely.
9 Wait until the varnish is completely dry
Do not hurry. If you don't have UV curing, then wait 10 minutes after applying each coat. The varnish should not only appear dry, but also have time to adhere to the surface of the nail.
10 Seal the tip of the nail
Carefully paint over the tip of the nail, if you go beyond its edge – you can always correct it with liquid. If you have unpainted areas left, the varnish will begin to peel off in this place.
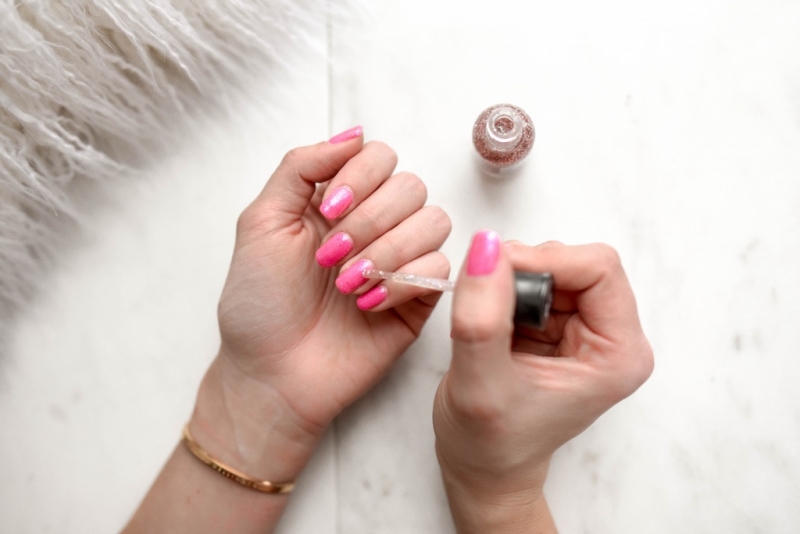
11 Apply the finish
The finish (or top coat) is just as important as the base coat. It fixes the varnish. With it, you can create the effect of gloss or volume on the nails, as well as ombre.
12 Take care of your hands
Wear gloves while washing dishes and wet cleaning – this way you will keep your manicure longer. Take care of your skin.
Stretch the Pleasure: How to Care for Your Nails Between Manicures
13 Update your manicure
If a small area on the tip of the nail is erased, follow the rules. 1. Wet a cotton swab with nail polish remover. 2. Gently wipe off the lacquer at the chipped area, cleaning the edges. 3. Apply a layer of varnish, let it dry. 4. Fix with top coat.
Post source: salon.kr.ua