How to cut a bottle – an overview of the easiest ways and methods to cut plastic and glass bottles. How to cut a glass bottle
Content
What you need to cut the bottle evenly
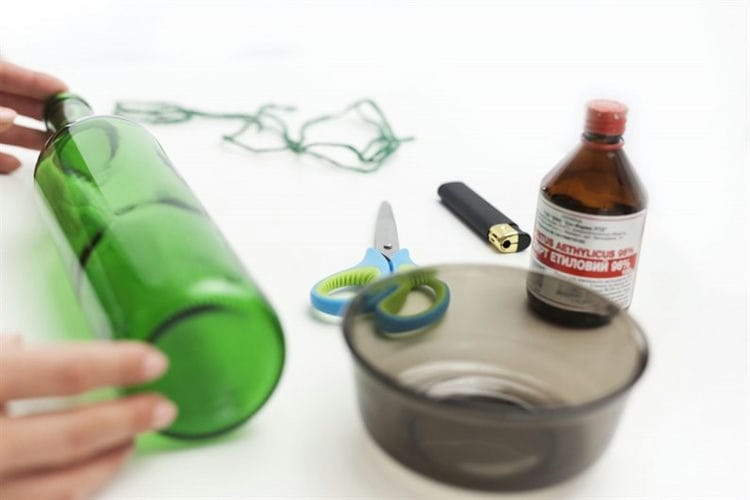
To cut evenly, a glass bottle or a bottle, behind the neck, we need:
- A piece of woolen thread. There should be enough thread to wrap a glass container several times with it;
- A combustible substance, it can be kerosene, acetone or solvent. It should be noted that we used kerosene with the batya. It is not recommended to take gasoline, in view of its rapid ignition and the same hasty flammability;
- Something with which to set fire to a combustible thread;
- Sharp knife;
- A container with cold water. It should be large enough so that the cut vessel could be lowered into it.
Woolen thread
After all of the above components have been found, you can start cutting the bottle.
How to cut the neck of a bottle or bottle straight
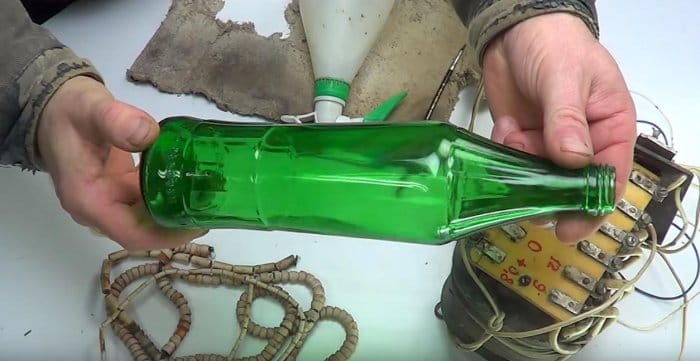
For these purposes, we first measure the required amount of woolen thread. Just take a ball and wrap the thread around the bottle or bottle (2-3 turns) in the place where the cut is needed. Then you need to use a sharp knife or scissors in order to cut off the piece of woolen thread we need.
You need to wrap the thread around the bottle several times
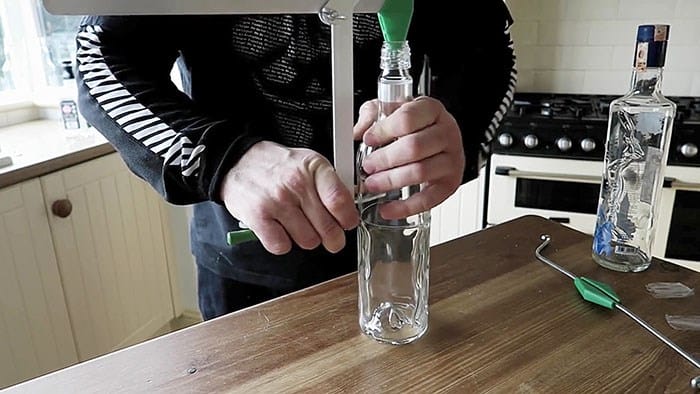
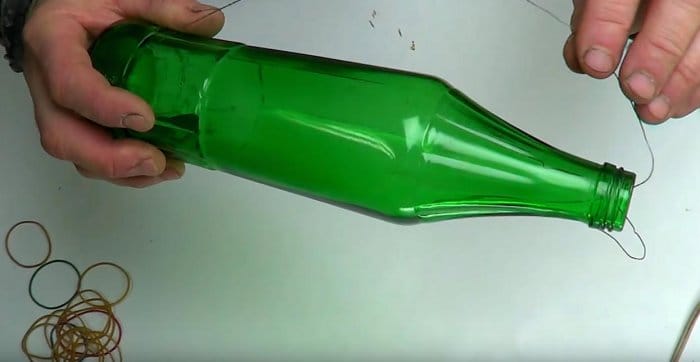
Then we take our piece of thread and dip it into a solvent or kerosene (the second tool is better suited for this purpose). After the thread has been thoroughly saturated with fuel, we immediately wrap it around the bottle, in the intended place of the cut. If the thread does not hold well, then it can be tied in a knot, nothing bad will happen.
After that, you need to quickly set fire to the thread with a match or a lighter. At the same time, during burning, the thread, bottle or bottle must be held horizontally with respect to the surface, slightly scrolling it as the thread burns out, around its axis. The thread will not burn for long, usually within one minute.
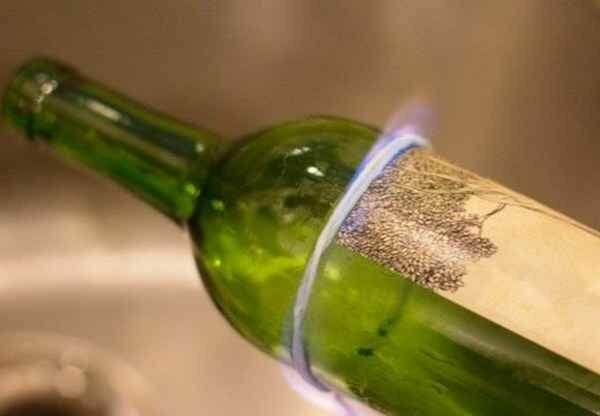
Set fire to a thread pre-soaked in kerosene
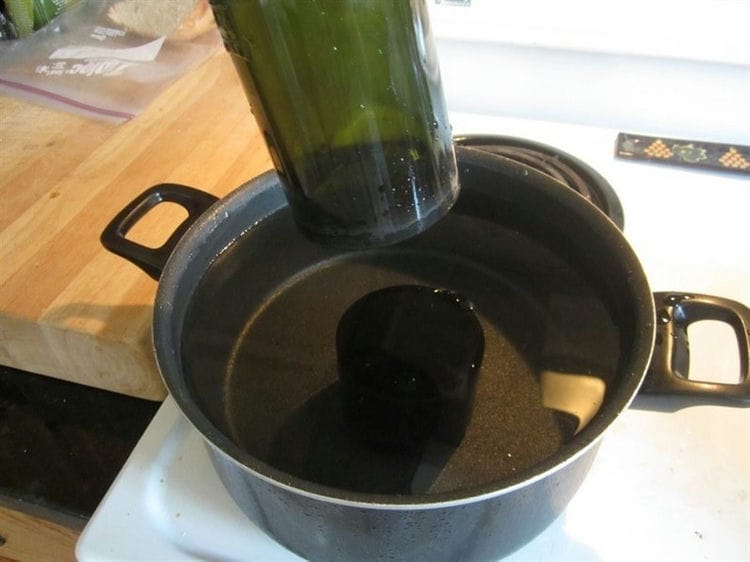
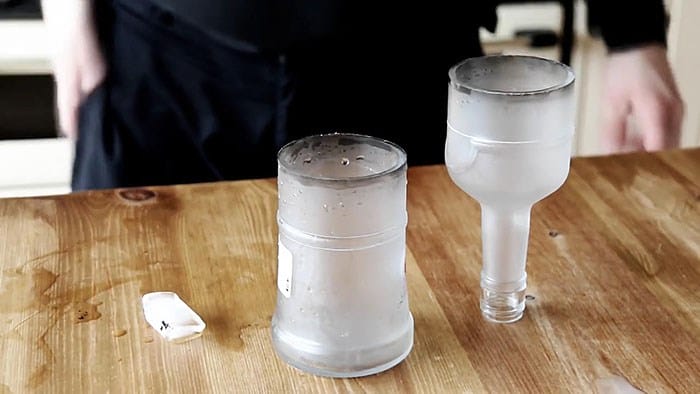
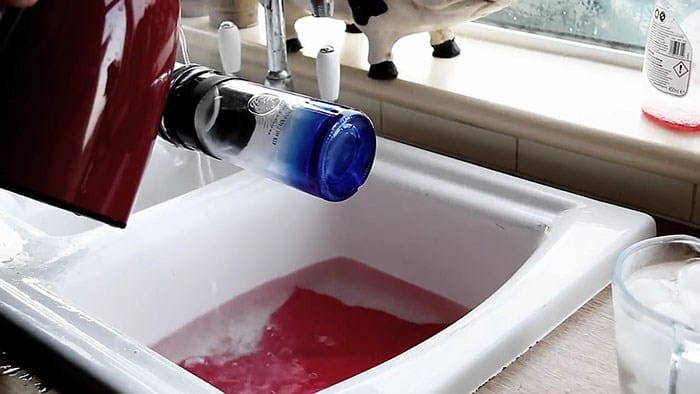
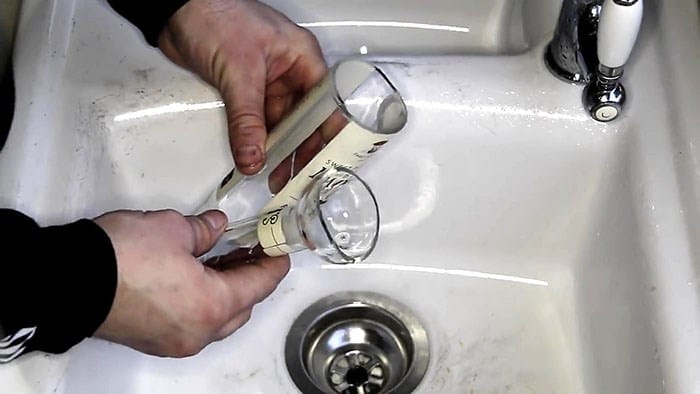
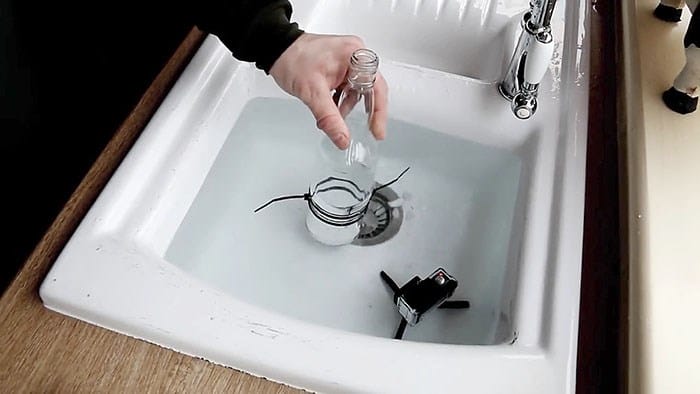
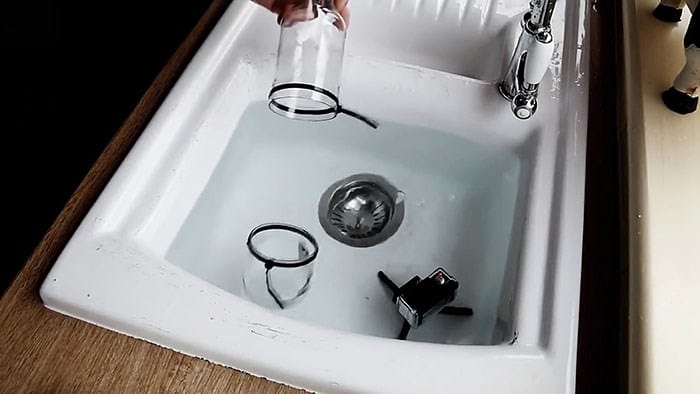
As soon as the fire is completely extinguished, and the whole thread is burned out, you need to immediately lower our bottle into a previously prepared container with cold water. Due to the excessive temperature difference (after combustion, the thread will heat the glass in the place of the cut), the neck of the bottle will separate from the rest of the part.
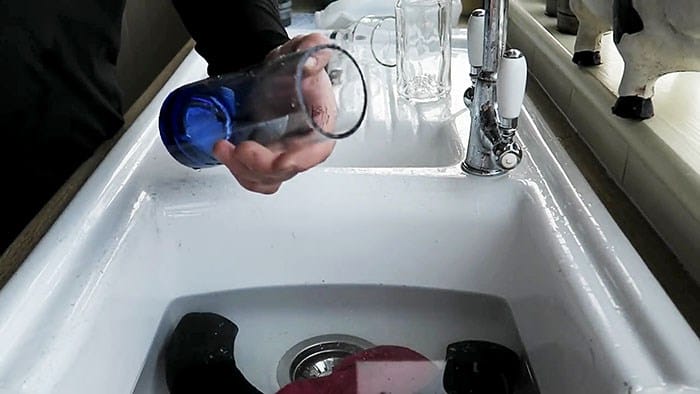
As you can see, it is not difficult to cut off a bottle or glass bottle exactly. In this case, the edges of the glassware, after such cutting, remain very sharp, which can lead to injury. Therefore, to grind sharp edges, we will use a piece of fine-grained sandpaper, and thoroughly walk it over the entire surface to be treated.
Quickly dip the bottle into cold water
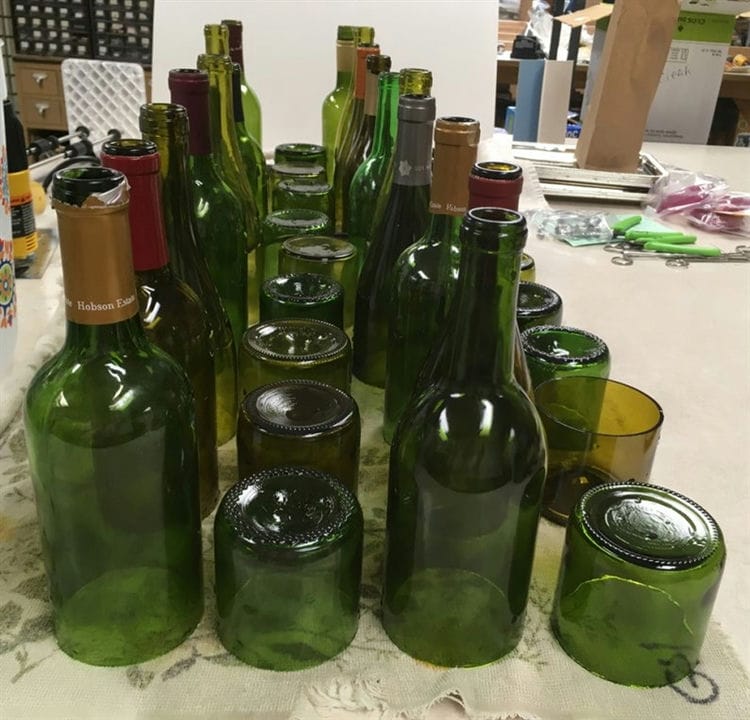
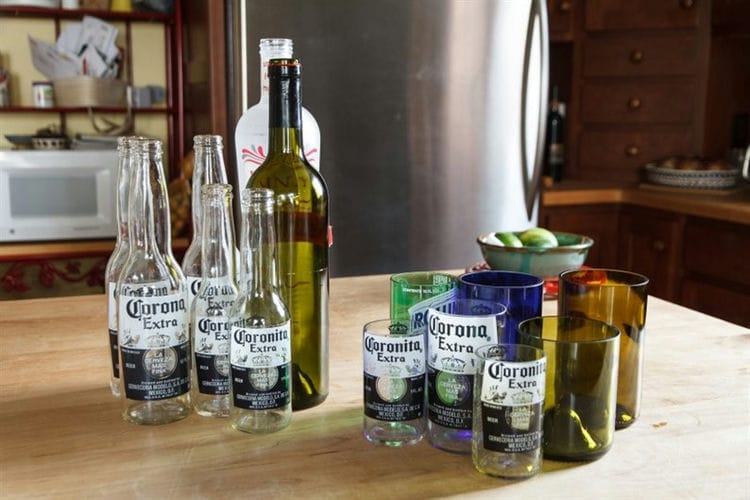
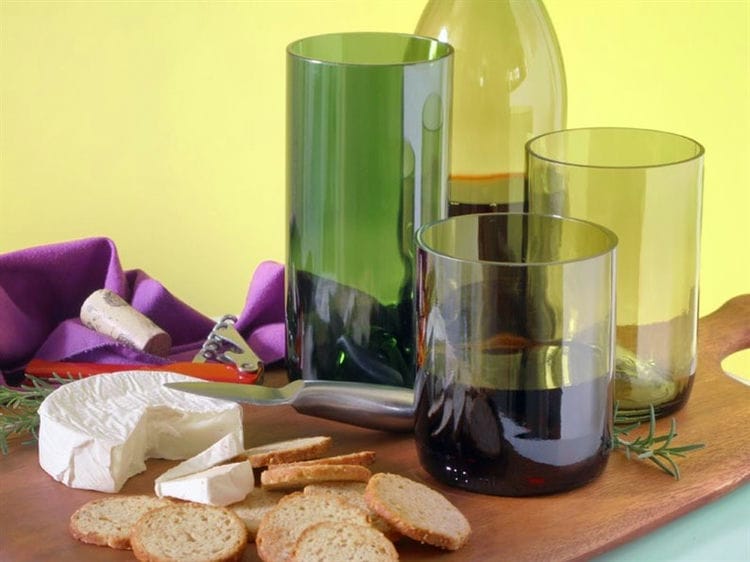
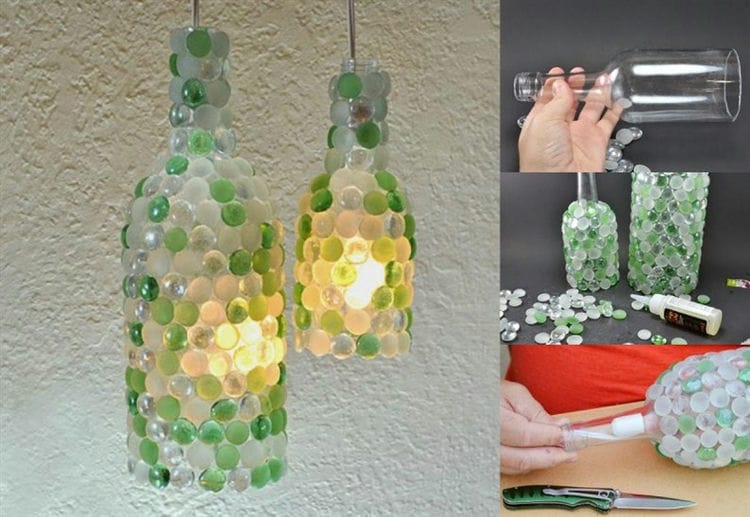
In this way, you can use unnecessary glass containers to make a variety of homemade products. Today, it is unlikely that someone will make aquariums out of bottles, as I once did, but finding a second use for bottles is quite realistic.
Flame
To begin with, we need a glass cutter, a bottle and a possible source of fire, preferably a narrow one. To do this, you can take another bottle in which you can light the flame. It is worth noting that cutting bottles with a glass cutter and without using fire is also possible, only in this case you will need to spend much more time.
First you need to make a straight cut on the bottle where you want it to split. This may require teski or some other type of fixation. You can cut it with a glass cutter, or you can take a drill or screwdriver and insert a nozzle into it for working with glass. The quality of the cut will depend on how smoothly you make the cut.
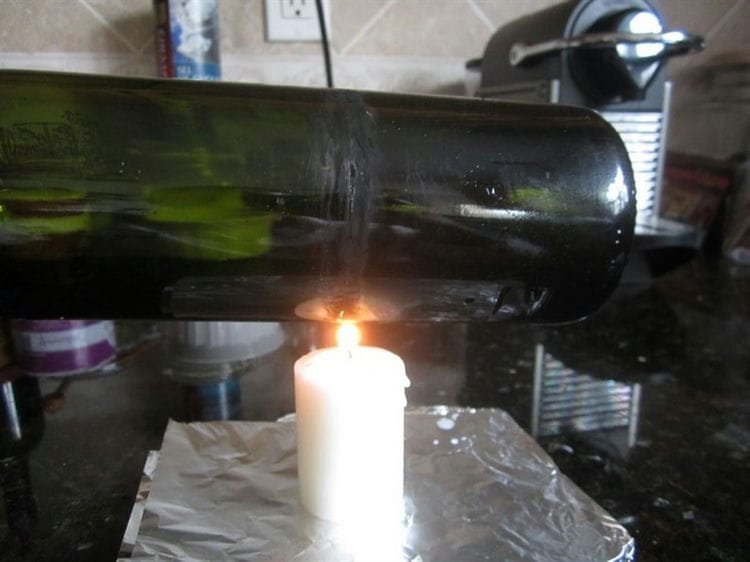
Now we need to heat our incision. To do this, the bottle must be gradually rolled over the flame. A candle is perfect for this. You need to rotate evenly and without jerking, so that the surface heats up equally in all places. We do this for about five minutes, after which we dip the bottle in a container of cold water.
You may need to repeat these steps several times until the bottle breaks along the cut line. After that, you just need to process the edges, removing their sharp parts.
Candle flame
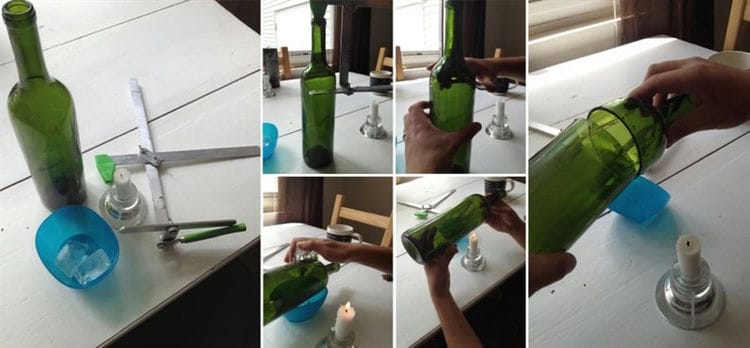
This method requires a candle and a piece of ice (you can use a container with very cold water). To break off the neck, a straight line is drawn on the bottle with a marker, along which the glass warms up well over the candle.
Then the cutting line is cooled with ice, after which the glass is broken with a light tap.
Boiling water
The second way to cut a bottle with your own hands again requires a glass tool. With a glass cutter, you again need to apply the contour along which the cut should go. At the same time, it is important to make the cut not only even, but also complete – you should not find the area where you started, because if the contour overlaps itself, the cut line will turn out to be uneven.
Next, you need to prepare a container with cold water. It can be a simple sink, or you can collect water in a bucket or bowl. In it we will cool our bottle.
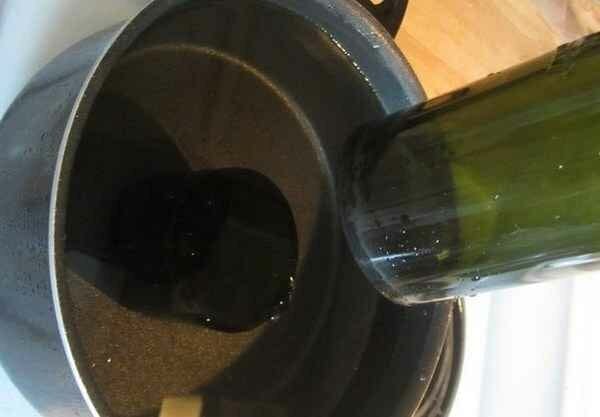
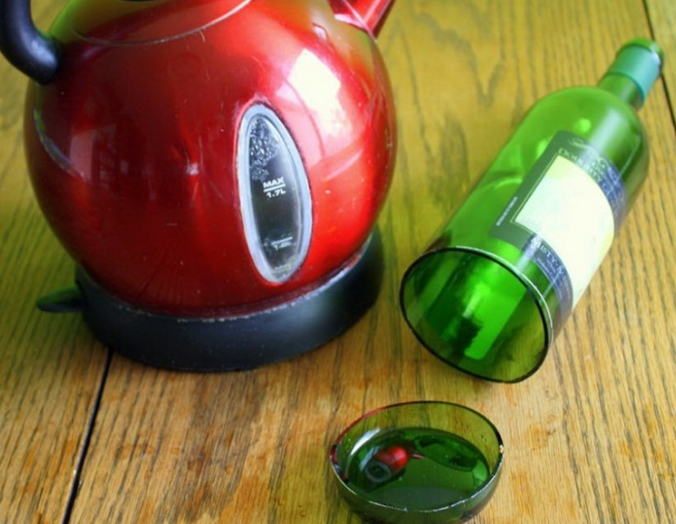
Now you need to boil the water in the kettle. With it we will gradually water the incision on the bottle. When the water has boiled, you can start the process. The bottle should be watered slowly and carefully – you shouldn't go too far from the initial cut.
After you have poured boiling water on the bottle several times, you must immediately place it in cold water. From the first time it will not break along the cut, for this you need to repeat the procedure several times. Next, you also need to process the sharp edges, after which you can do whatever you want with the bottle.
Using boiling water
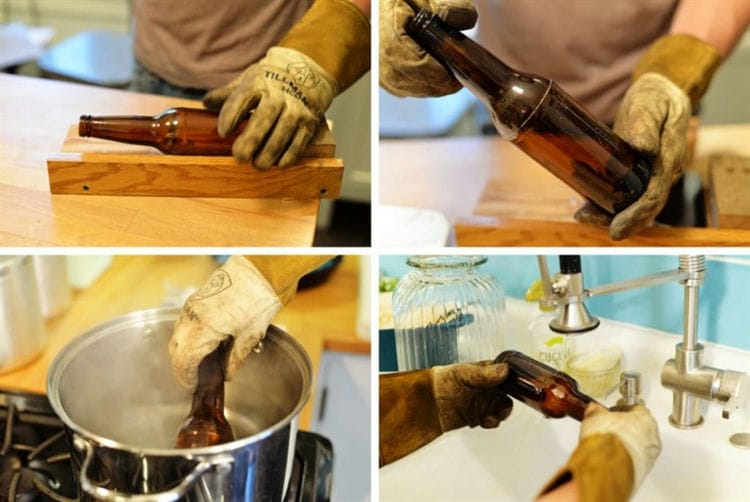
Everyone can cut the container with boiling water. Along the notch line, they are cut with a glass cutter or drill. Fill the kettle with cold water, put it on the stove. The liquid is brought to a boil, the dishes are removed from the stove and boiling water is poured down the line with a thin stream. After heating, it is placed under running water. The cut off part is smoothed with coarse sandpaper and sanded with fine.
The second method will tell you how to cut off part of the container using boiling water faster:
- mark the place of the cut with a marker;
- carried out with a glass cutter strictly along the line;
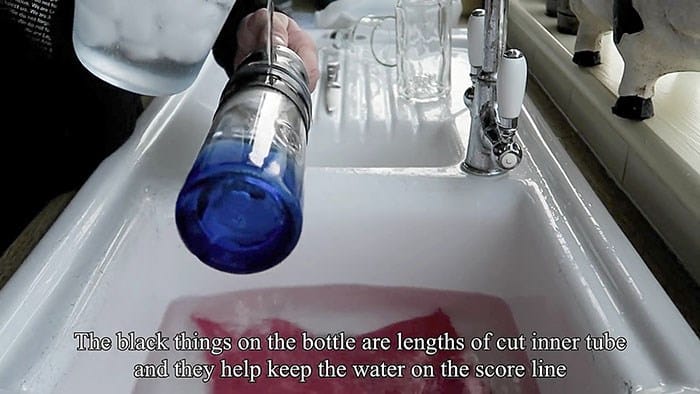
- fasten strips of electrical tape at a distance of a centimeter from the cut;
- remove the kettle from the stove and pour boiling water over it;
- as soon as the container warms up as much as possible, it is lowered into a basin with ice water;
- take out and pour boiling water over again, dipped in ice water.
A light tap is enough to bounce the bottom. The cut with this method is smoother. It is suitable for separating glass bottles both lengthwise and crosswise.
The incision site is outlined

At the incision site, it is necessary to conduct several times with a glass cutter
Hot water slowly pours into the site of the future split until the bottle splits in two
A thread
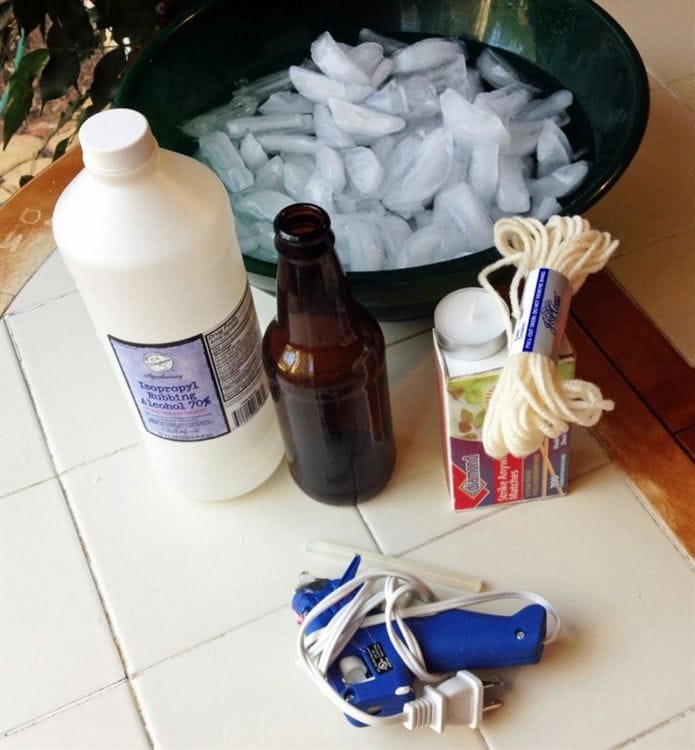
This may not be the safest way to cut bottles in terms of fire safety, but with the right approach, no danger should arise. To do this, you can use a fairly dense thread for yarn or a simple cotton cord.
It is important that it is natural, not synthetic material. Depending on the thickness of the string, you may need to wrap it around the bottle one to five times over the required split.
It is best to use a lace that is tight enough to fit a single ring. Having wrapped the bottle, it is worth cutting off the excess ends so that they do not dangle.
Next we take acetone. In it, you need to soak our thread, and then put it back on the bottle. It should be well saturated with acetone, this is important for the future part. Now you need to tie the thread, and do it tightly enough, because this can later affect the quality of the cut.
Then you just need to set fire to the thread and slowly scroll the bottle. And again we need a container with cold water, in which we will need to place a bottle after the thread has almost completely faded. If you did everything correctly, the bottle will crack in the place where the thread was. We clean the edges again.
Installation with filament
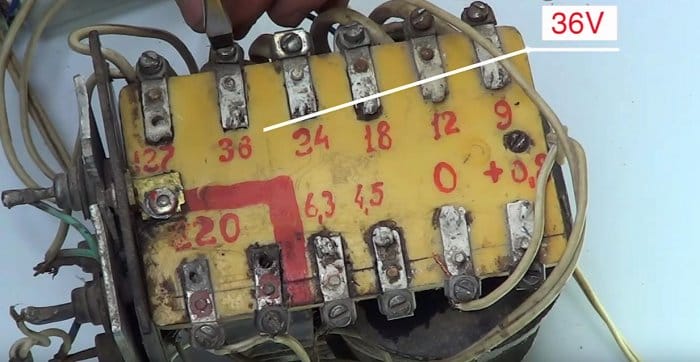
This method will require a transformer, for example, from a microwave oven with the secondary winding removed, instead of which three turns of a powerful power cable are installed.
The free ends of the wire are closed through a thick wire. The support (base) must be heat-resistant and dielectric.
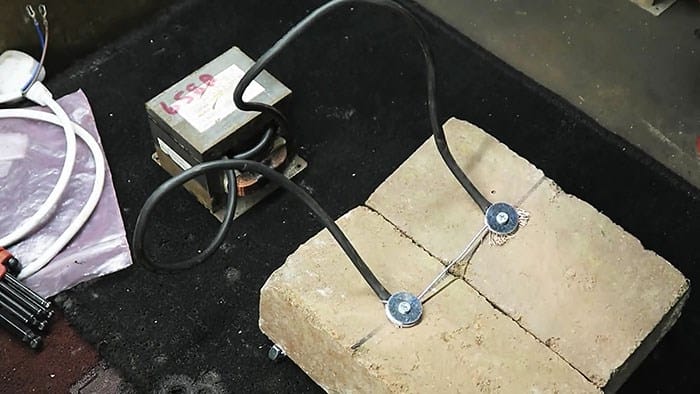
The next step is to connect the transformer to the electrical network. When the transformer is turned on, the filament becomes hot: a bottle is applied to it and gradually rotates. When the glass warms up, the neck will detach along the heating line, so you need to make sure that the heating is uniform and in one line.
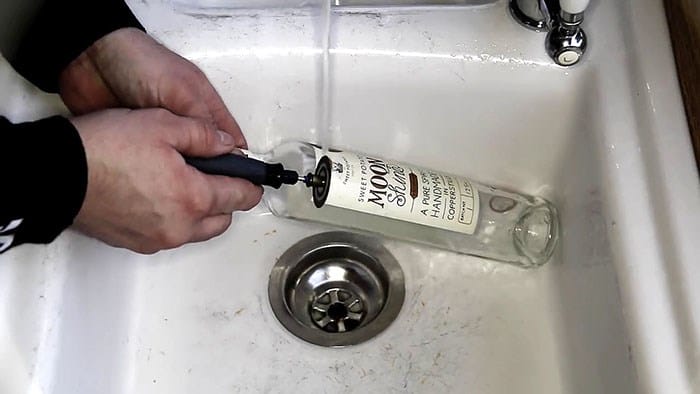
Dremel
Another good way to cut a glass bottle requires a special tool. To do this, you only need to decide on the cut line, for which it will be good to use a simple masking tape. You will need two strips that go just around the cut line. Then it will be good to fix the tool and turn it on.
You need to slowly and surely roll the bottle along the incision line while the tool does all the work for you. You will need to crank the bottle 3-5 times, at least before it cracks. Further, having processed the sharp edges, you can decorate your cut bottle.
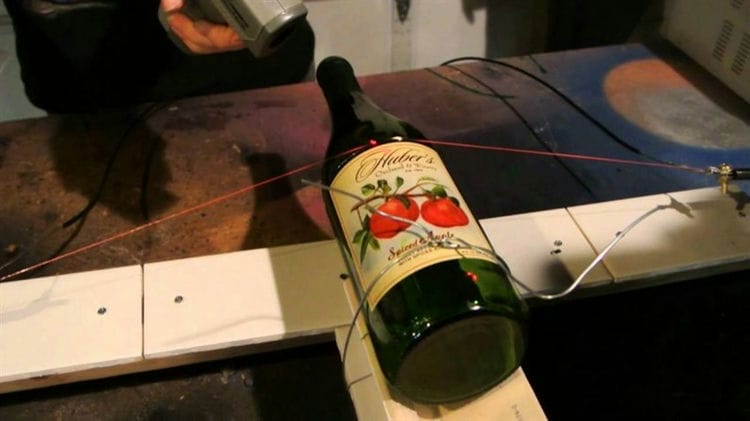
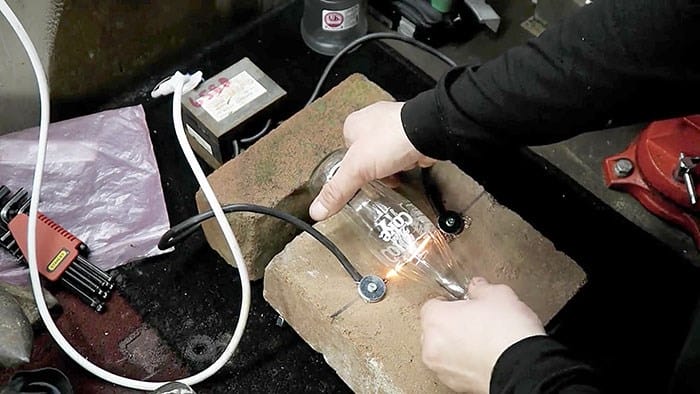
Nichrome wire
Finally, I left a not very simple, but interesting and entertaining way, than you can easily cut a bottle at home. You won't need much for this.
You will need a power source for which a simple 12-watt battery is well suited, the wire itself, the bottle that needs to be cut and a container of water in which you can dip the bottle.
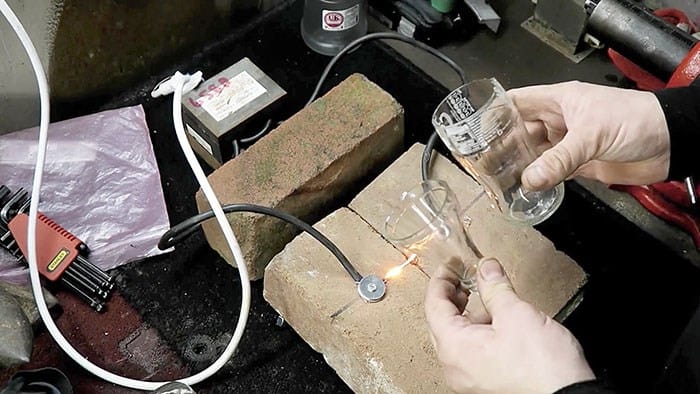
For a more convenient definition of the cut line, you can take a glass cutter with which to accurately draw the direction. Then we take a heavy object that will not catch fire – a stone or steel will work well, it will hold the wire on one side. You will also need to connect the power cable there.
We wrap the wire along the notch line, after which we grab the second edge with pliers. You need to pull a little so that it stretches a little and becomes smoother. Then we give tension and observe a beautiful, but rather dangerous picture – a heated wire made of nichrome. Half a minute will be enough for such a device to cut almost any bottle.
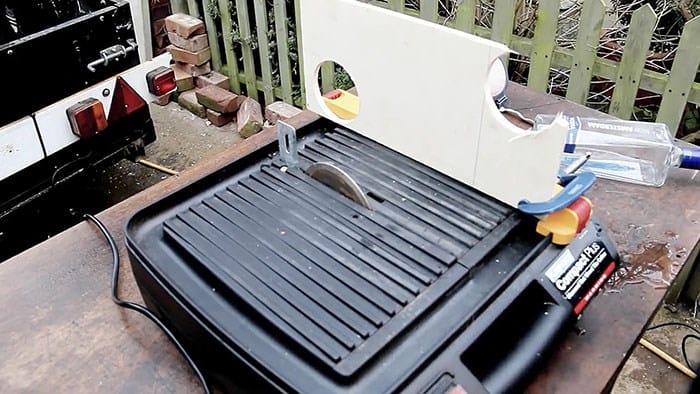
We use specialized equipment
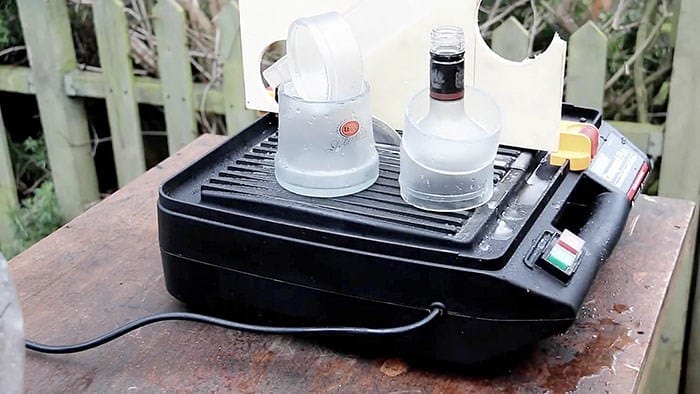
This method involves using an electric tile cutting machine. The diamond blade cuts thick glass well and evenly. It is recommended to work with gloves, a protective mask and goggles, as glass dust is very dangerous. The advantage of using a cutter is the ability to cut the bottle into small washers, which is not available with other methods.
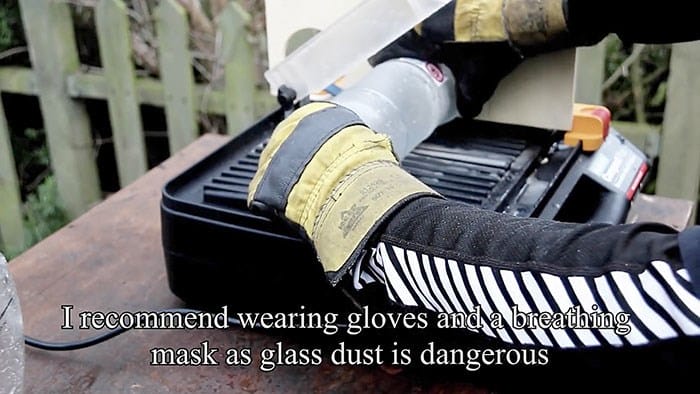
An electric multitool with a rotating working head can also be used for cutting. But when working with this tool, you need to securely fix the bottle so that the cut is smooth.
In conclusion, I would like to add that not all considered methods are safe. When trying to repeat, observe safety precautions and use protective equipment (gloves and goggles).
We use a glass cutter
You will need a glass cutter here. You can use a factory model or make it yourself. The design of a home-made device can be different: the main thing is that the bottle and the cutting element are securely fixed, but the bottle rotates freely.

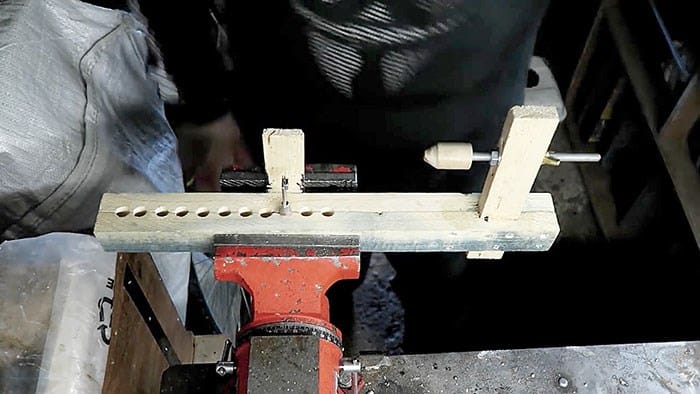

Important! When cutting, you need to make one pass: this will ensure the most even edge.
Next, you need to prepare hot (boiling water) and cold (you can with ice) water. First, spill hot water along the cutting line so that the glass warms up well.

After that, we immediately pour over the bottle with cold water.
From the temperature reduction, the glass should break off along the preliminary cut line. If this does not happen, the procedure must be repeated (pour over first with hot and then cold water).

Glass bottle engraved in any direction
In search of a method of how to cut a glass bottle with the highest quality possible, the collective thought came to a way to cut a glass bottle with a so-called engraver.
According to the name of the company, which was the first to launch the production of a universal hand-held engraver with replaceable attachments, it is often called “Dremel”.
Such a tool is used for various subtle works, for example, in modeling. It can also handle glass, including cutting. Moreover, the cutting line will be limited only by your imagination, and the results of the work will look very neat.
It will take dozens of times longer than other methods. But this is the only way you can still cut a glass bottle with a really high quality in any direction – along, diagonally, in a zigzag – whatever you like.
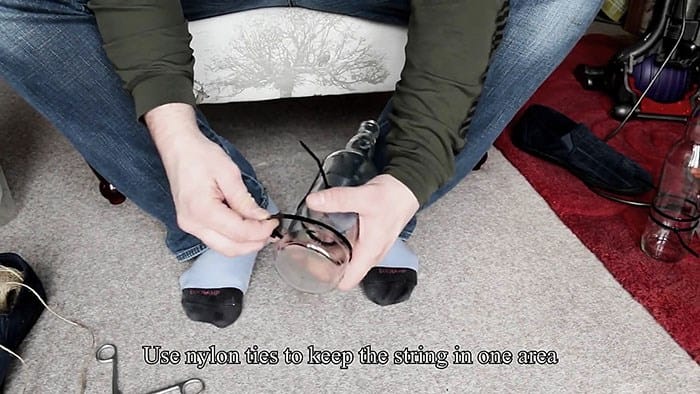
Nargev from friction
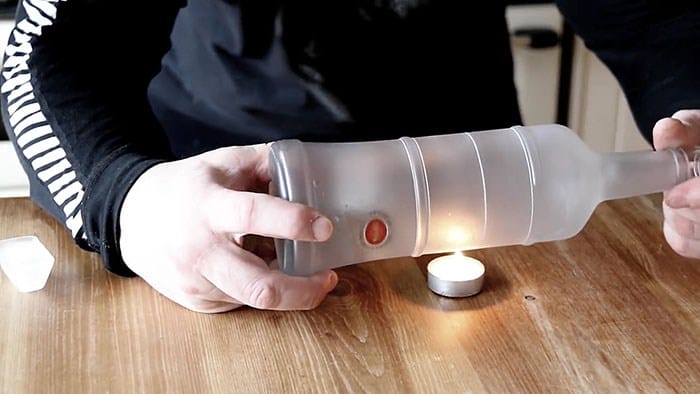
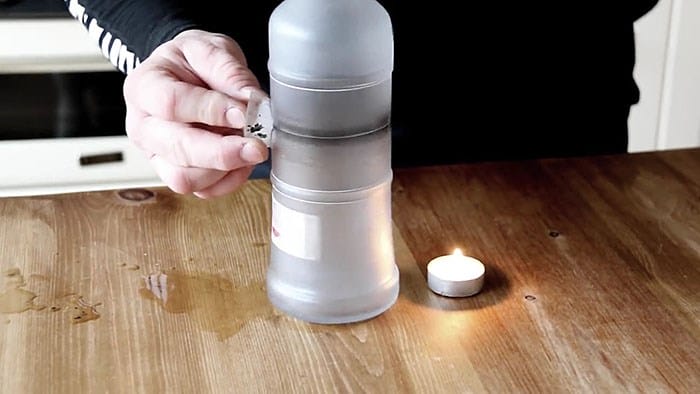
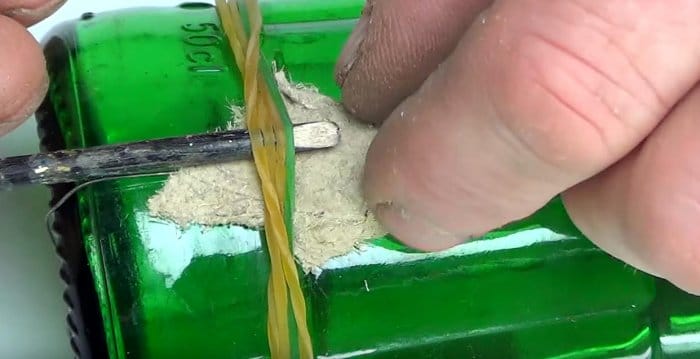
Another way to break off a bottleneck is to use frictional heating of the glass. For this, two plastic ties are put on the bottle, which serve as stops. Three turns of twine are wound between them, after which the twine at the free ends begins to move forward / backward.
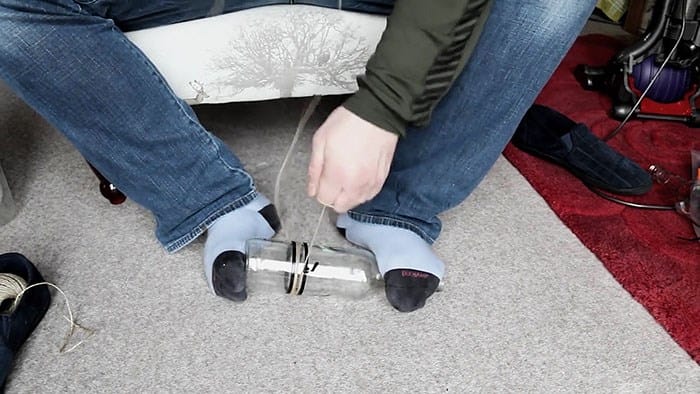
After 2–3 minutes, when the glass is sufficiently heated, the bottle is placed in cold water, and with a light tap, a spall occurs along the heating line.
If, before rubbing with twine, a small incision is made on the bottle using a glass cutter, then you do not need to use cold water: the glass will crack when heated on its own.
How to cut along
A designer item can also be obtained from a bottle that has been cut longitudinally. The work requires the following materials:
- a bottle of ordinary water with a spray;
- a piece of nichrome wire;
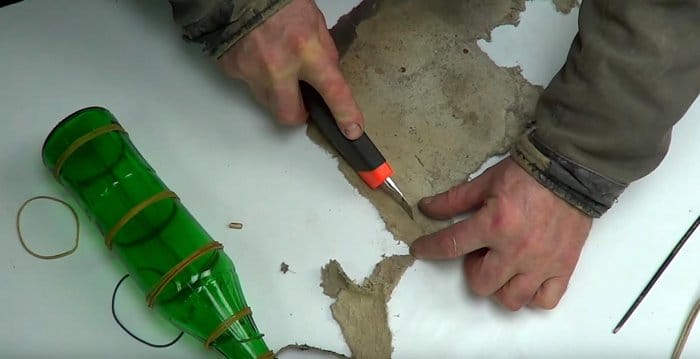
- a piece of heat-resistant material (asbestos, paronite);
- rubber bands;
- a power supply that is capable of providing 30-40 V and an electric current of 3-4 A.
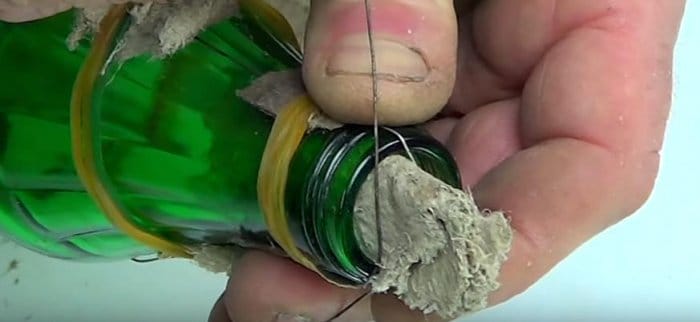
The nichrome wire is carefully straightened, since it depends on whether the cut edges will be even. The bottle is wrapped with wire lengthwise and fixed with elastic bands in several places – this will be the cut line. Asbestos or other material should be broken into small pieces and placed under the rubber bands on all sides. Thus, while heating, the wire will not damage the rubber harnesses. If you don't have asbestos on hand, you can use small wooden slats. A lump of heat-resistant material is also placed in the neck of the glass container, due to which the wire is pressed against the edges of the hole. It is also necessary to press asbestos to the bottom, since it, like the neck, has a large thickness. Best of all, place the container on a piece of asbestos or a piece of wood.
An electric current is connected to the ends of the wire – it does not matter whether it is constant or variable. Electricity is applied for 30-60 seconds until the wire turns red. The power source is turned off, and the places of contact of the glass with the wire are intensively sprayed with water from the prepared bottle. After a resounding click has sounded – the crack of a bottle – the rubber bands are carefully removed. The result is two absolutely equal parts of the container, ready for use.
Bottle
Fastening the wire

The wire is fixed with rubber bands
Pieces of asbestos
Putting pieces of asbestos under the rubber bands
We put a piece of asbestos in the neck
We connect the electric current
Turn off the source and spray intensively with a spray bottle from the bottle on the places where the wire and glass come into contact.

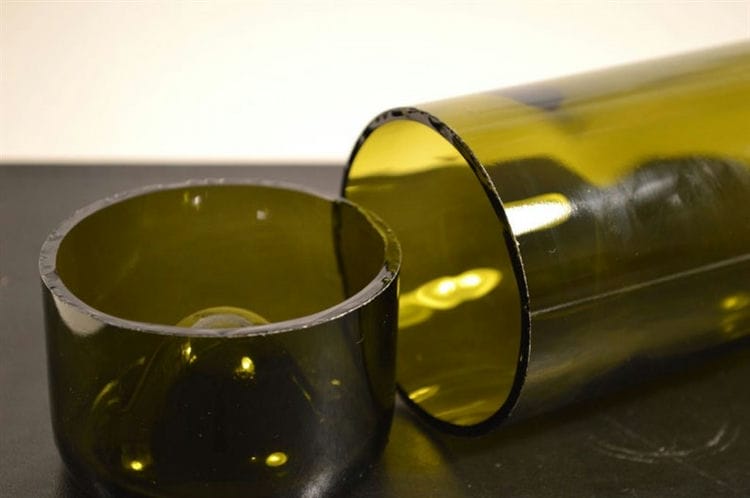
Two parts bottle
Security measures
Although glass bottles are considered safe to handle, safety precautions should be followed. Cutting glass may shatter into small pieces and cause injury to hands or eyes. Before you start cutting glass products, you need to prepare:
- gloves;
- protective glasses;
- tight-fitting clothing.
It is especially important when working with glass to reliably protect your eyes! If glass dust or small particles get into your eyes, it will seriously harm your health!
At the end of the cutting process, hands and face should be thoroughly washed, and clothes should be well cleaned and washed.
Safety engineering
Competent work with glass containers is safe. When heated, no chemical elements are released, with proper cracking, small pieces do not fly off. But it is necessary to observe safety precautions to prevent possible injury.
They work only with gloves so as not to cut their hands on the sharp edges of the finished product. If the attempt is unsuccessful, it is easier to collect the fragments without cuts. Safety glasses will protect your eyes from breaking glass. Clothes should not be loose, especially if the work is carried out with a power tool. After the procedure, all things are thoroughly cleaned and washed, glass dust is removed with a stiff brush.
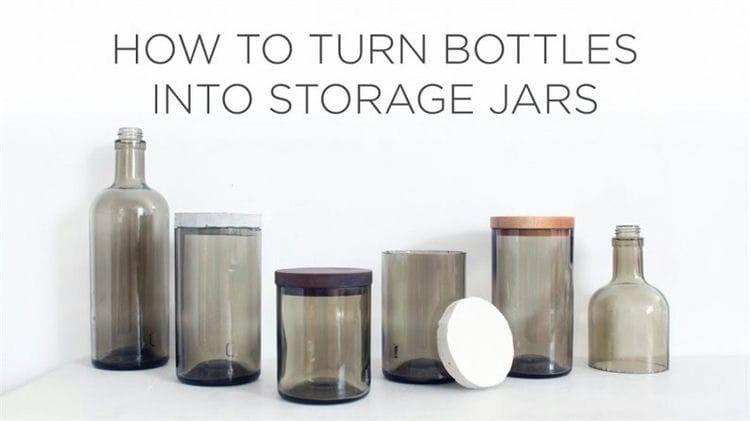
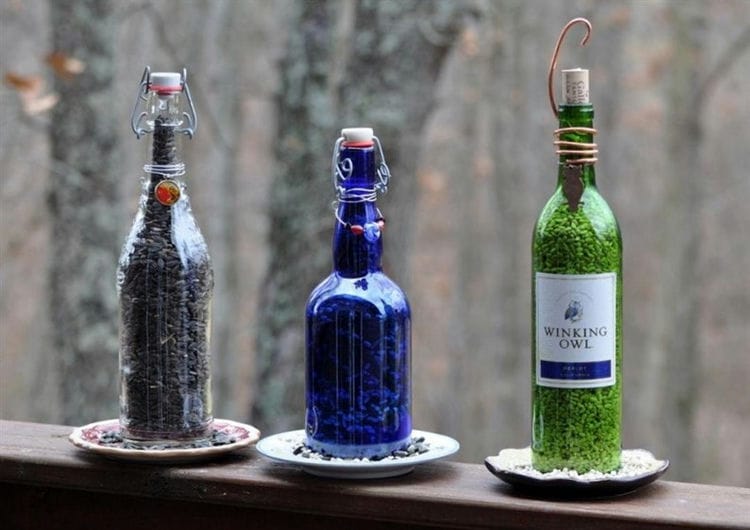
A beautifully cut bottle looks interesting and modern. It can become a vase, decorative element, craft blank, holder for brushes and pencils. You can create a product at home using materials at hand. The main thing is to study the process, follow the instructions and not neglect the safety precautions.
Advice
- If using a band saw, a glass diamond tip must be used. To cool the blade, there should be as much water as possible. Slowly push the bottle through to get a perfect cut.
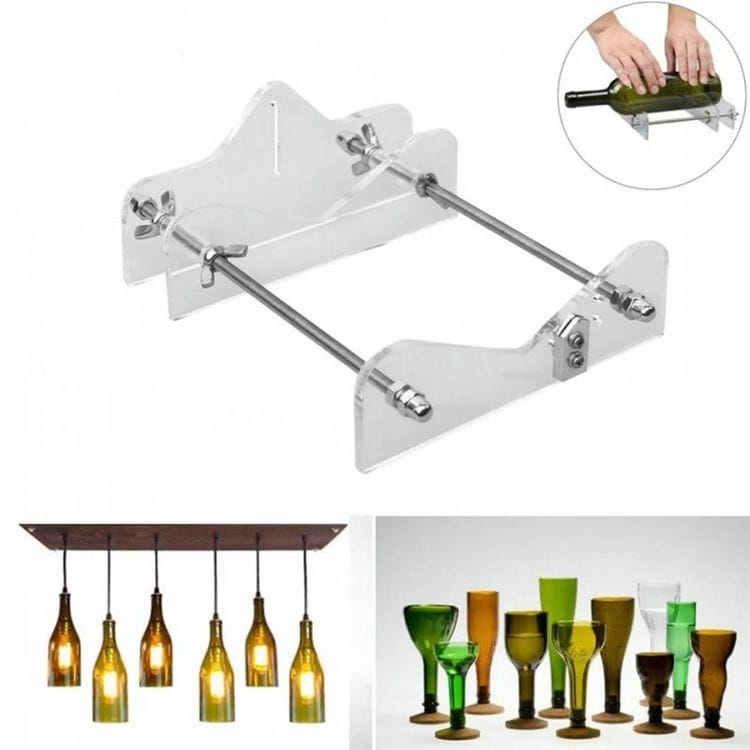
- You can order a special tool for cutting wine bottles on the Internet if you do not like the methods indicated above.
- The temperature of the glass of the bottle should change gradually, except when you place the bottle in cold water. Otherwise, you will ruin the bottle.
- If you are a child, do everything under the supervision of your parents.
Video
Photo tips how to cut a glass bottle
Sources used and useful links on the topic: https://zen.yandex.com/media/samastroyka/staryi-sposob-otrezaniia-gorlyshka-u-stekliannogo-butylia-ili-butylki-5e4ffd1f42086311854756c0 https://tytmaster.ru/kak -razrezat-steklyannuyu-butylku / https://SdelaySam-SvoimiRukami.ru/4759-6-sposobov-rovno-razrezat-stekljannuju-butylku.html https://posuda-expert.ru/svoimi-krukami/132- razrezat-steklyannuyu-butylku https://mirrukodelija.ru/kak-razrezat-butylku/ https://posuda-gid.ru/butylki/138-kak-razrezat-steklyannuyu https://ru.wikihow.com/%D1 % 80% D0% B0% D0% B7% D1% 80% D0% B5% D0% B7% D0% B0% D1% 82% D1% 8C-% D1% 81% D1% 82% D0% B5% D0% BA% D0% BB% D1% 8F% D0% BD% D0% BD% D1% 83% D1% 8E-% D0% B1% D1% 83% D1% 82% D1% 8B% D0% BB% D0% BA % D1% 83
Post source: lastici.ru